
Top 5 Steps Every PET Blow Molding Technician Should Know
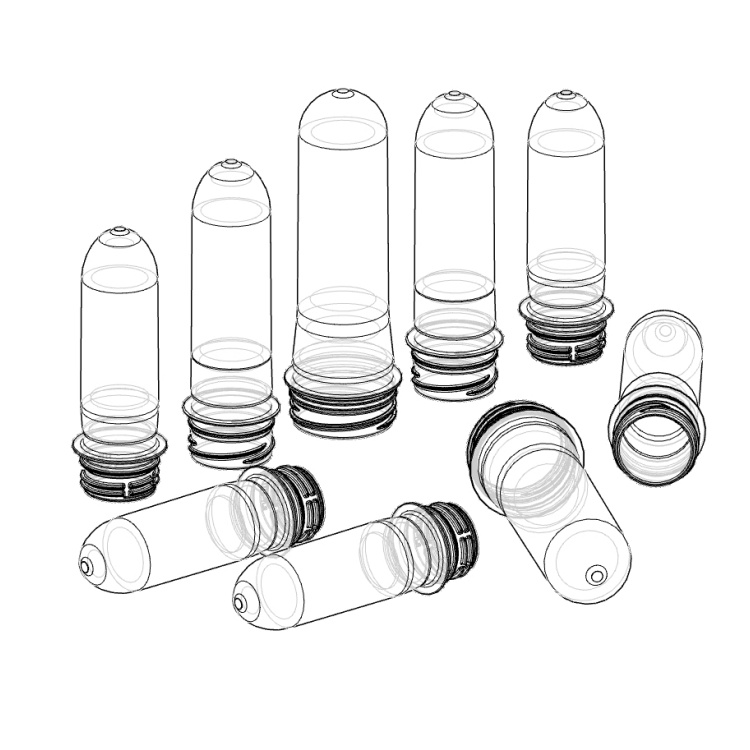
Managing a high-volume bottle production line often proves demanding. Each moment holds importance, and every container requires a flawless appearance to uphold the brand’s strong standing. For operators on rapid systems, the focus extends beyond merely choosing suitable resin; it involves understanding the subtle elements of the blow molding method.
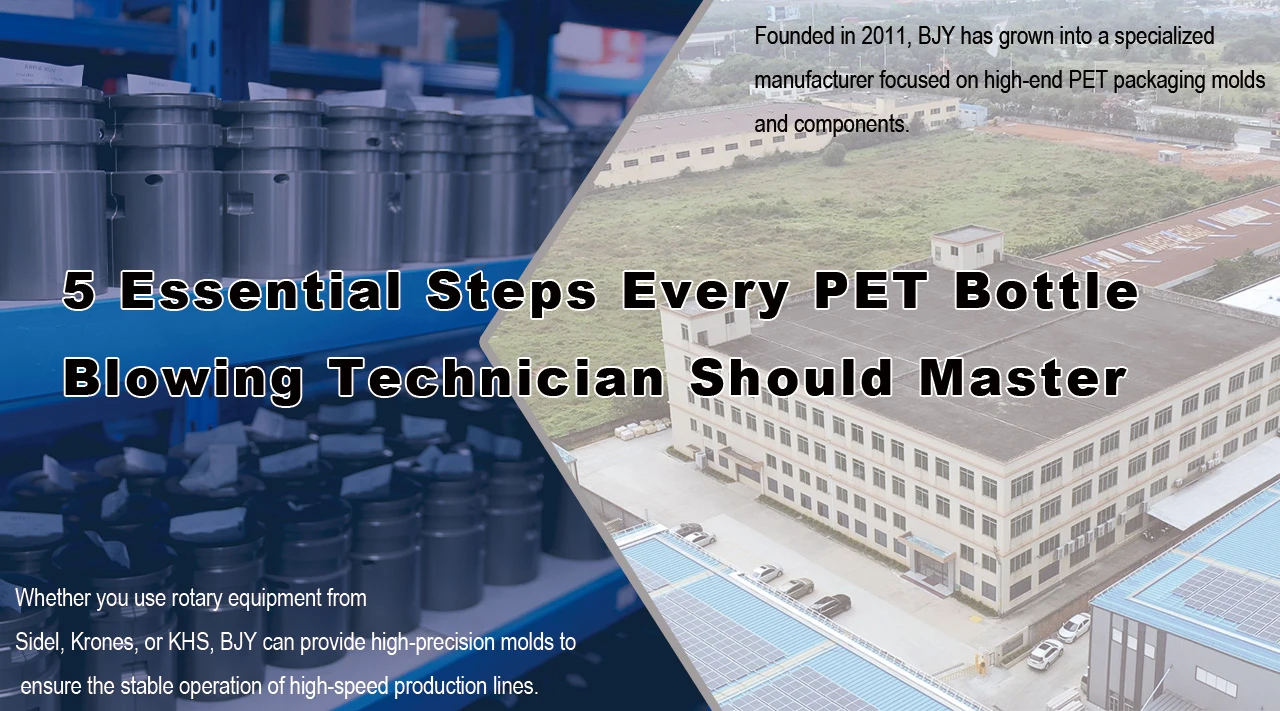
When problems emerge, such as hazy containers or irregular wall thicknesses, they generally trace back to several essential procedures neglected during preparation or execution. Founded in 2011, BJY has grown into a specialized manufacturer of high-end PET packaging molds and components. From its 4,000-square-meter facility in Foshan, the team handles everything from bottle design to one-stop professional engineering for global beverage and pharmaceutical brands. Whether you are running rotary machines from Sidel, Krones, or KHS, BJY provides the precision-engineered tooling needed to keep high-speed lines moving without a hitch.
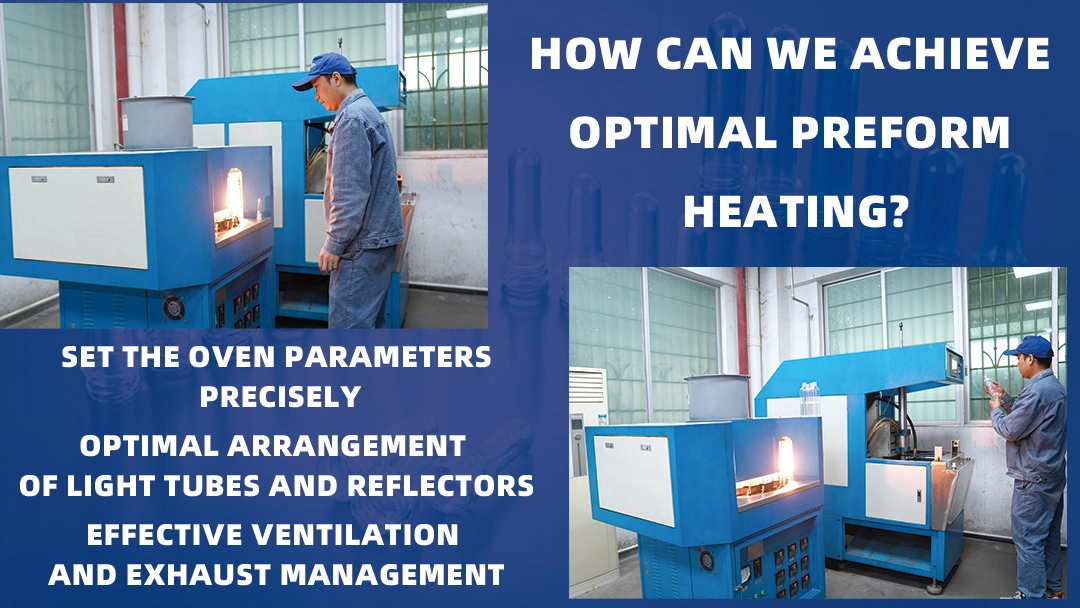
How Do You Achieve Optimal Preform Heating?
Prior to introducing any air to the material, the heating unit handles the primary workload. If the preform fails to reach the precise temperature, the resulting bottle could split or exhibit a distorted shape. Operators should regard the warming phase as the core element supporting the entire process.
Precise Oven Parameter Calibration
Achieving correct lamp intensity matters greatly. The oven parameters should be fine-tuned according to preform weight. Normally, the starting area receives 3000W to begin the warming, whereas remaining areas hold at approximately 2500W. For lightweight bottles (≤15g), 3000W may be too high; and for thick‑wall or large bottles (>1L), higher power or longer heating time is usually required. Additionally, one must watch the cooling plate elevation, setting it roughly 1 to 2 mm above the support ring, and this adjustment prevents the neck section from softening and warping due to intense warmth.
Strategic Lamp and Reflector Alignment
Lamps must avoid being excessively near or distant; a separation of 15 to 20 mm from the preform serves as the optimal distance. This configuration permits the warmth to absorb evenly into the material without damaging the exterior. Employing quartz focusing rods offers a further advantage, as they direct the heat specifically to the region beneath the neck finish, thus shielding the support ring from excessive temperature.
Effective Airflow and Exhaust Management
Prevent the heating chamber from becoming overly warm and stagnant. Activating the exhaust maintains a steady internal temperature, which avoids preforms acquiring a “pearl white” hue from surplus heat. Suitable air movement guarantees that the internal and external surfaces of the preform attain even heating, a detail that gains extra significance when handling preforms with substantial wall thickness.
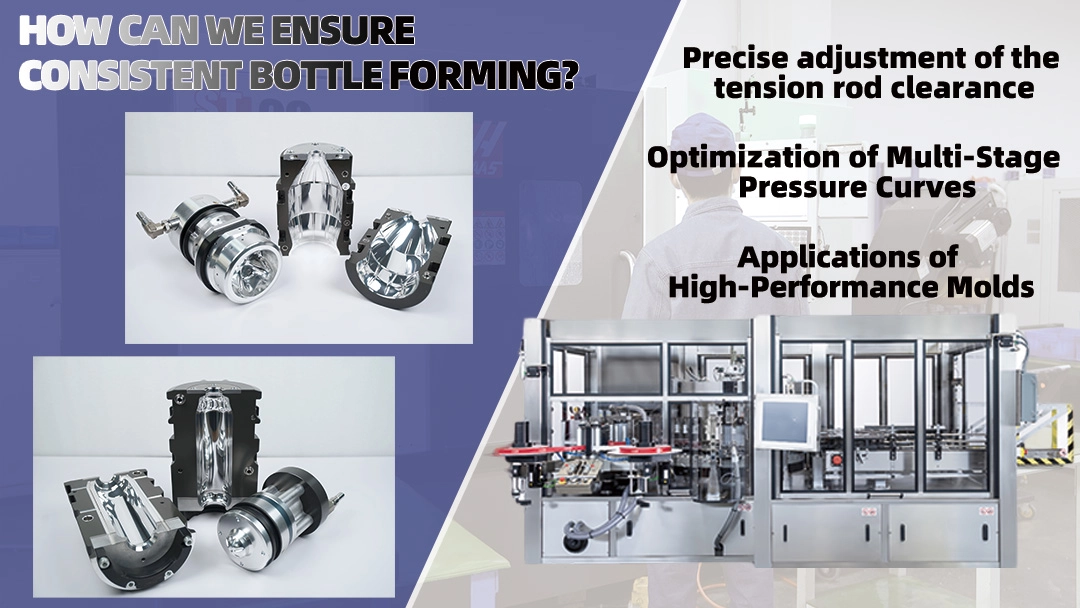
What Are the Secrets to Consistent Bottle Shaping?
After the preform achieves adequate heat and transfers to the mold, the physical forming aspects assume control. Here, the true shaping occurs, and even slight positioning errors become visible in the end result.
Accurate Stretch Rod Gap Adjustment
The stretch rod’s vertical position and stroke depth are critical for consistent bottom formation. While general guidelines suggest configuring the rod’s base position to 2/3 of the preform’s base wall thickness for cylindrical bottles (or 4/5 for tapered bases), in modern production, these values are typically set and controlled via sensors or direct position control.
Precise positioning ensures the rod centers the preform bottom accurately before stretching. Deviating from the optimal stroke depth causes misaligned bottle bases; excessive penetration can even pierce the bottle bottom.
Multi-Stage Pressure Curve Optimization
The air pressure application proceeds through distinct phases. Blowing pressures may vary with actual conditions — higher pressures are often required for thick‑wall bottles or hot-fill applications. Initial blowing typically ranges from 7 to 12 bar for compact sizes like 500ml, and from 9 to 14 bar for larger capacities. This step expands the material initially, preparing it for the subsequent high-pressure phase at 28 to 38 bar, which forces it against the mold walls to secure the form. Should the high pressure lack stability, the bottle’s volume will similarly fluctuate.
Integration of High-Performance Molds
Occasionally, the machinery performs adequately, yet the mold creates limitations. Incorporating a dedicated PET blowing mold for Sacmi twins cavities yields substantial improvements in uniformity. Such molds suit fast-paced production, confirming that each cavity delivers matching bottles free from typical interruptions associated with basic tooling.
Why Is Thermal Management Crucial for Production Speed?
Warmth supports the process during blowing, but it obstructs progress after the bottle forms. Without swiftly removing that warmth from the material, extracting the bottle from the mold becomes impossible, and this factor restricts the cycle duration.
Rapid Cooling Through Material Selection
Aluminum outperforms others in heat dissipation. It extracts warmth more quickly than steel, enabling acceleration of the entire operation. To achieve such cooling efficiency, a high-performance cooling system and well-designed water channels are essential. The 555ml Blow Molding Mold incorporates sourced aluminum alloys to sustain pace. Within rapid configurations, this selection frequently represents the sole means to attain rates such as 55,000 bottles per hour while ensuring the material stays transparent and robust.
Advanced Surface Treatment Benefits
The mold’s exterior serves purposes beyond appearance. Finishes like hard anodizing or mirror polishing aid in releasing the material without adhesion or scratches. Numerous workers select a sandblasted base, as it facilitates smoother ejection. This minor aspect averts irritating small damages or adhesion problems that might interrupt the line.
Reliable Equipment and System Compatibility
The mold must integrate smoothly with the surrounding machinery. Tools such as the PET blowing mold for Newamstar feature designs for easy installation. As a result, their cooling pathways and fixation points match the machine’s original standards precisely, avoiding prolonged efforts on linkages or tailored adjustments amid transitions.
How Can You Minimize Recurring Production Defects?
Despite employing superior components, issues arise inevitably. The solution involves identifying fixes methodically, without reliance on speculation. Many flaws adhere to recognizable sequences, and grasping those sequences permits addressing the underlying issue rapidly.
Systematic Troubleshooting of Transparency Issues
Should bottles appear hazy or obscured upon exit, the preform probably remains underheated, necessitating an increase in lamp intensity or additional bulbs. In contrast, a “pearly” or whitened look signals overheating. In practice, transparency issues can also be caused by moisture in compressed air, excessive stretching, and other factors. Furthermore, examine the compressed air supply, for any line moisture consistently destroys the clear quality.
Correction of Uneven Wall Thickness
If a bottle’s one side displays thinness while the other shows thickness, inspect the stretch rod positioning initially, as it likely misses the central point. Assuming that checks out, turn to the heating unit, where inadequate preform rotation during warming causes persistent softness on one side. Moreover, minor changes to the pre-blowing direction assist in directing additional material to required areas.
Implementation of Regular Maintenance Cycles
Avoid postponing action until failure occurs. Cleaning schedules can be set weekly or monthly according to factory practice.
Cleaning the forming areas with medical alcohol every 72 hours removes any accumulations. Monthly, apply polishing compound to the cavities to preserve the reflective surface. Ensuring guide pins receive food-grade grease lubrication also proves necessary for smooth mold movement.
FAQ
Q1: Why are my PET bottles coming out with a visible mold line?
A: This usually happens because the clamping pressure isn’t high enough or the mold halves aren’t fitting perfectly. Check the guide posts for wear and make sure the clamping rod angle is less than 5° to get a tight seal.
Q2: What causes the bottom of the bottle to look eccentric or off-center?
A: It’s often a timing issue with the stretch rod or the pre-blowing pressure being too high too early. If the pre-blowing starts too soon, it pushes the material away before the rod can center it at the bottom.
Q3: How long should a high-quality PET blow mold last?
A: With proper care and maintenance, a precision mold made from high-grade aluminum or S136 steel can easily reach a service life of 10 million cycles. Regular cleaning and using treated cooling water are key to hitting these numbers.
Disclaimer
The brand names and logos of sidel, husky, khs, sacmi, sipa, netstal, etc., are registered trademarks owned by their respective legal holders. All mentioned trademarks and brand names in this article are used solely for the purpose of illustrating product compatibility and suitability. BJY does not claim any rights to the aforementioned trademarks and has no affiliation, authorization, or partnership with the companies mentioned. Any references herein do not imply that our products are original factory parts or have received official recognition from the manufacturers.