

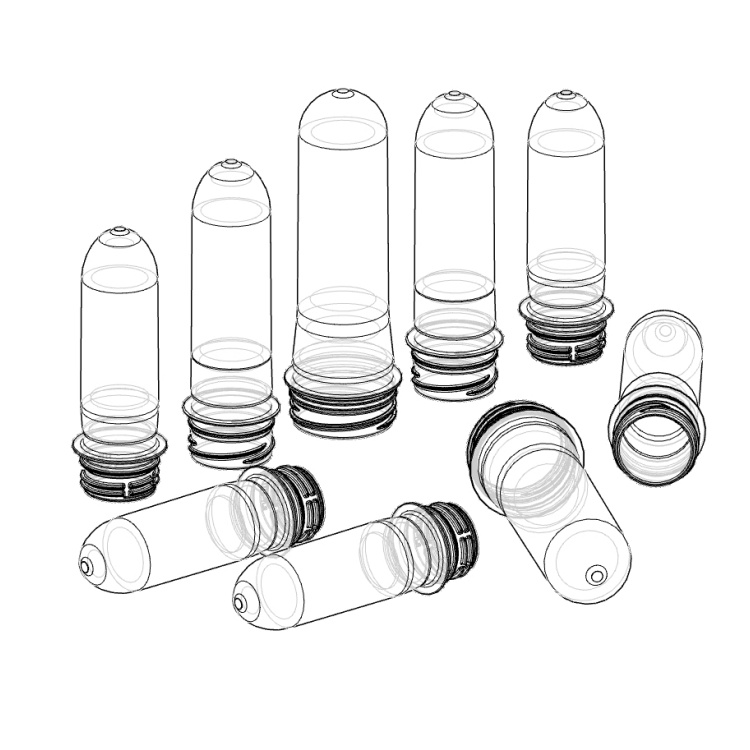
PET Injection Molding Temperature Chart: Settings and Defect Fixes
A stable PET injection molding temperature window depends on more than the barrel display. Resin condition, actual melt heat, nozzle and hot-runner balance, mold surface temperature, and cooling-water performance all affect filling, clarity, shrinkage, and release. Use the chart as a diagnostic starting point, then confirm the settings against the resin, preform weight, cavity layout, equipment condition, and molded samples.
BJY designs and manufactures PET preform molds, blow molds, closure molds, and related parts. Its work includes new tooling, replacement components, reverse engineering, refurbishment, inspection, and testing. For temperature-related projects, buyers should check how material choice, cooling paths, machining tolerances, and mating surfaces affect heat transfer, not simply whether a part can be installed.

|
Process Control Point |
Typical Operating Window |
Main Engineering Effect |
Deviation Risk (Too Low vs. Too High) |
|
Resin Drying |
160 °C – 180 °C (Dew Point ≤ -40 °C, 4–6 hrs) |
Removes residual moisture to prevent hydrolytic degradation |
Too Low: High AA content & short shots Too High: Pre-drying yellowing & resin clump |
|
Barrel Zones (Rear–Front) |
Rear: 265–275 °C Middle: 275–285 °C Front: 280–290 °C |
Achieves uniform plasticization and viscosity balance |
Too Low: Unmelted haze & high screw torque Too High: Thermal degradation & preform yellowing |
|
Melt & Nozzle |
Melt: 280 °C – 295 °C Nozzle: 280 °C – 290 °C |
Maintains steady melt flow into the runner system |
Too Low: Frozen nozzle & gate short shots Too High: Material drooling & gate stringing |
|
Hot Runner Zones |
Main Manifold: 285–295 °C Drop Nozzles: 285–290 °C |
Controls balance across multi-cavity preform gates |
Too Low: Gate crystallization / blocked cavity Too High: Gate flash, leaks & high AA generation |
What Temperature Settings Should PET Injection Molders Monitor?
Follow the material from drying through ejection. Keep displayed setpoints separate from measured conditions, and change one variable at a time.
Resin Drying and Material Preparation
Moisture left before melting can destabilize PET. If clarity and filling change across the whole mold, check storage, drying records, material changeover, and production stops before raising heat. Moisture-related degradation can resemble an incorrect temperature setting.
Barrel, Melt, Nozzle, and Hot Runner Settings
Barrel values do not always equal the actual PET melt temperature. Screw speed, back pressure, residence time, shot size, and shear add heat. The nozzle and hot runner must keep the melt moving without overheating the gate.
BJY’s guide to key temperature settings for PET injection molding provides useful background. For PET hot runner temperature settings, record a stable baseline, change one item, and compare the same cavities again.
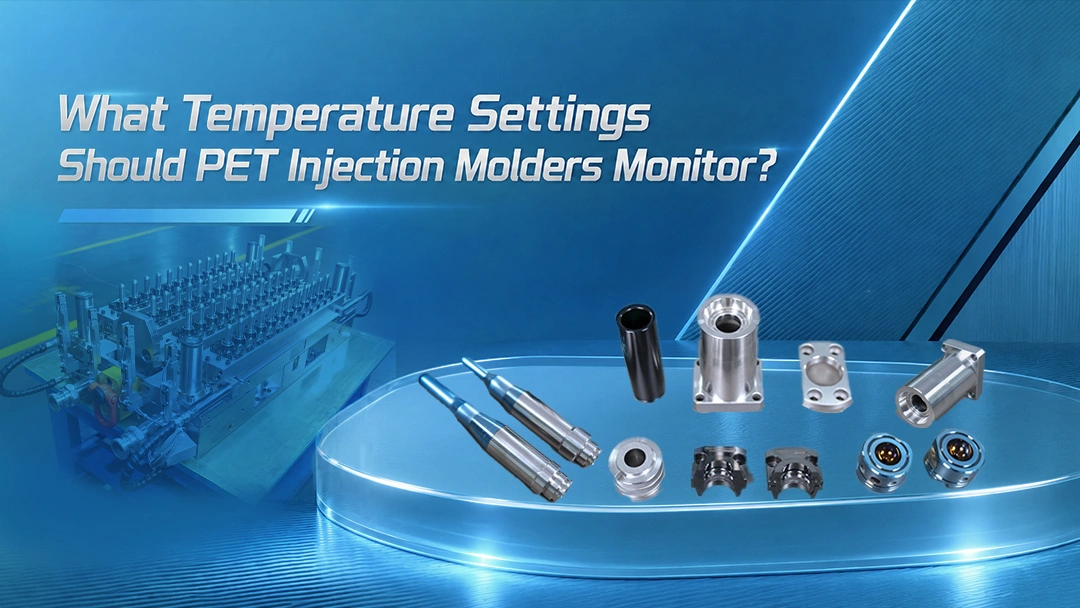
Mold Surface and Cooling-Water Control
Cooling should be even before it is colder. The core, cavity, Cooling Tube Assemble, inlet water, and return water perform different functions. A low chiller setting cannot correct restricted flow, scale, poor contact, or a damaged cooling part.
Record the PET mold cooling water temperature, return condition, and affected cavity numbers together. If one cavity stays warmer, inspect its local cooling route before changing the whole mold.
How Do Incorrect Temperature Settings Cause PET Preform Defects?
First identify whether a defect affects every cavity, several cavities, or one repeating cavity. This pattern often shows whether the cause is process-wide or local.
Whitening, Yellowing, and Loss of Clarity
Whitening may result from unstable forming, crystallization, or cooling stress. Yellowing points more strongly to excessive heat or long residence time. When checking PET preform whitening causes, record several cycles and cavity numbers. A full-mold problem suggests common settings; a fixed-cavity problem suggests local gate, cavity, or cooling issues.
Flash, Short Shots, and Gate Defects
Short shots can occur when the melt path freezes early. Flash or stringing may appear when the gate stays too hot or a worn component no longer controls the opening accurately. Here, pet injection molding temperature records must be checked with valve movement, sealing faces, and insert wear.
Warpage, Uneven Shrinkage, and Longer Cycles
Warpage after ejection often means the preform leaves before temperature and stress are stable. Uneven shrinkage can come from blocked flow or unequal cooling between core and cavity. To reduce PET injection molding cycle time, inspect cooling contact, return flow, and release before shortening the cooling stage.
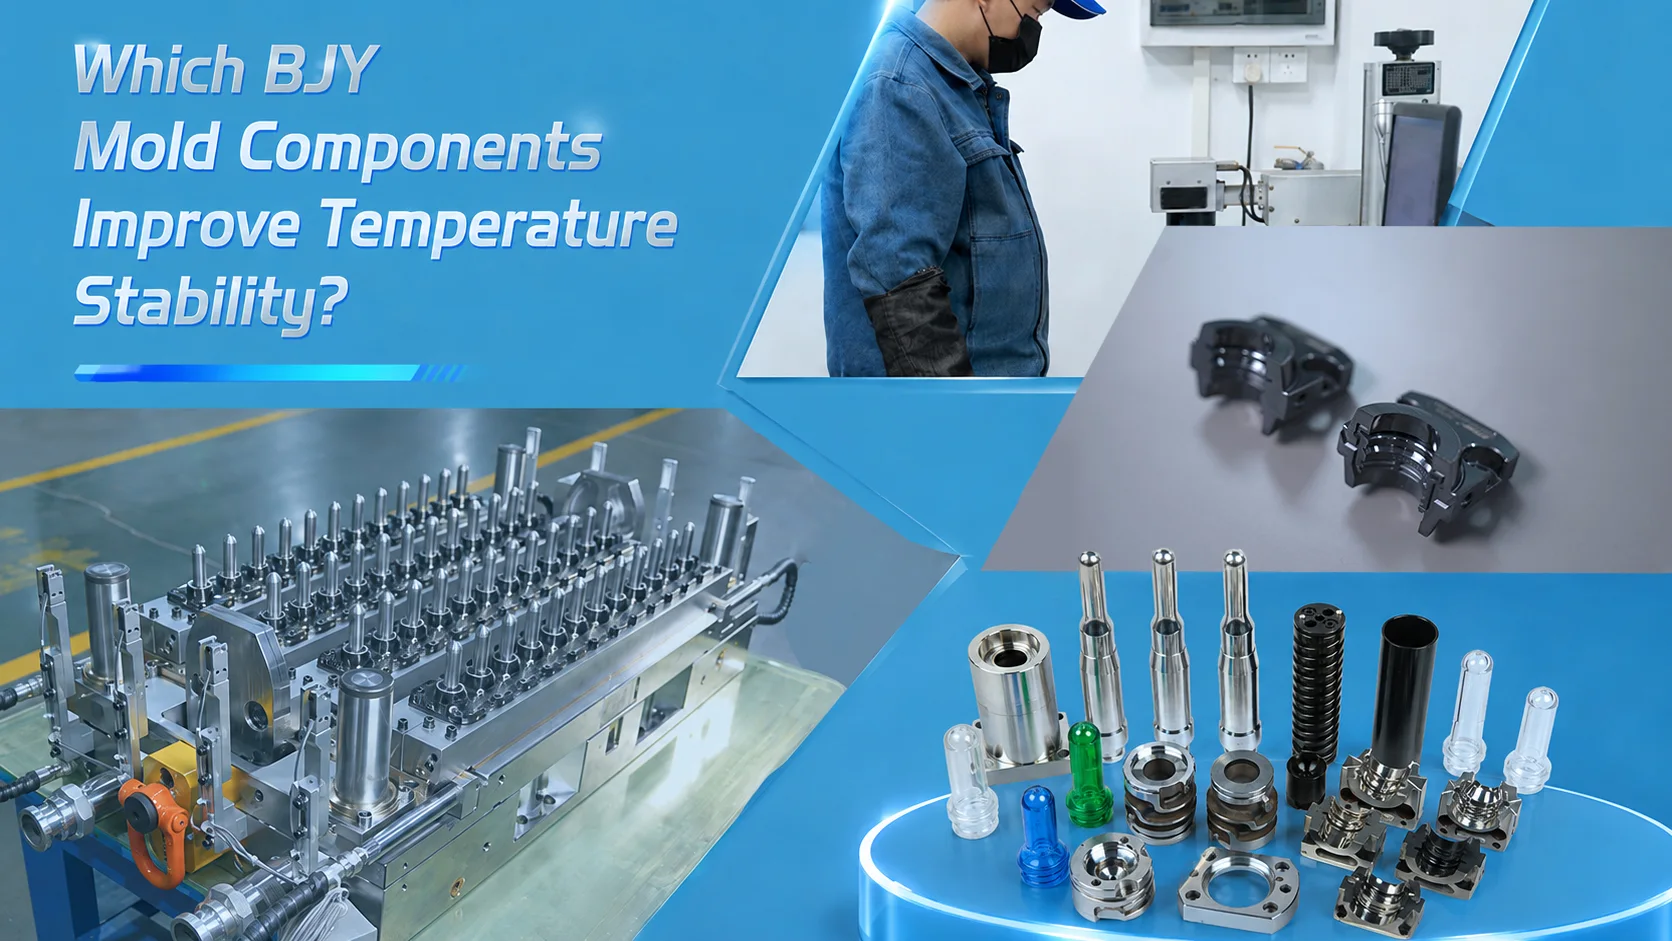
Which BJY Mold Components Improve Temperature Stability?
Select components according to the defect location, machine interface, and measured temperature pattern. These parts support process control but cannot compensate for poor drying or an unsuitable recipe.
Cooling Tube Assemble for Faster and More Uniform Cooling
The Cooling Tube Assemble suits projects with cavity-to-cavity cooling differences, scale, or worn tubes. BJY uses direct-contact water cooling and controls key dimensions within ±0.01 mm. Designs can match the preform profile and existing mold arrangement.
Before ordering, provide a verified drawing or original sample. Cooling connections, insertion depth, concentricity, and removal access all affect installation and heat transfer.
Gate Insert for Stable Flow and Gate-Area Control
Check the Gate Insert when one cavity repeatedly shows stringing, localized flash, wear, or incomplete filling despite stable common settings. BJY uses S136 mold steel and precision-machined gate geometry.
Confirm the profile, mating dimensions, surface condition, material, and maintenance method. Correct geometry supports repeatable flow but does not replace proper material preparation.
PET Preform Mold Cavity for Dimensional and Thermal Consistency
The PET Preform Mold Cavity is relevant when scratches, wear, dimensional drift, release marks, or fixed-cavity shrinkage appear. BJY supports multiple cavity layouts and common neck specifications, with production based on samples, drawings, or confirmed mold data.
Replace a cavity when damage is local. If several cavities share the same pattern, also inspect the hot runner, Cooling Tube Assemble, Mold Core, and water distribution.
How Should Buyers Select, Validate, and Maintain Mold Components?
Accurate parts can still fail if interface data are incomplete. Procurement should start with verified dimensions and end with a controlled production comparison.
Equipment, Cavity Count, and Neck-Finish Compatibility
Provide the equipment model, mold number, cavity count, preform weight, neck finish, component material, and defect location. BJY’s preform mold range covers 32 to 144 cavities and neck formats including 28 mm variants, 26/22 mm, 29/25 mm, and 38 mm.
General compatibility is not enough. Locating faces, shoulders, water connections, and removal clearances may differ between mold structures.
Precision Inspection and Trial Validation
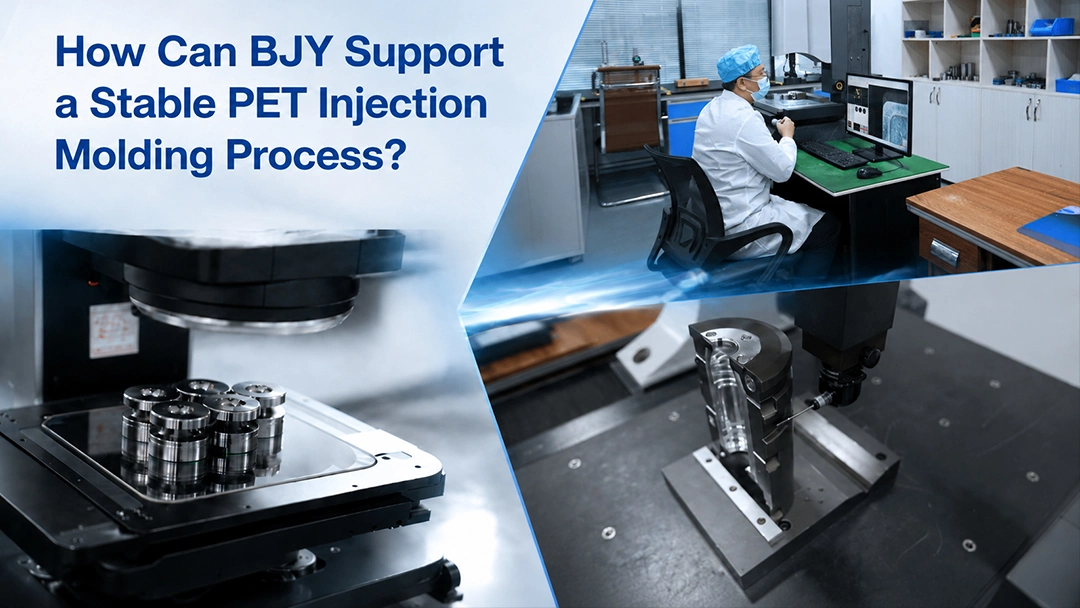
Check dimensions before installation and performance afterward. BJY uses image measurement equipment and a coordinate measuring system with 0.002 mm detection accuracy for parts, molds, preforms, and bottle samples.
After installation, compare weight, neck dimensions, gate appearance, clarity, release, and cycle stability. Test one component before a batch when interface risk is high.
Maintenance Cost and Replacement Timing
Separate cleaning, local repair, component replacement, and full refurbishment. Scale in a Cooling Tube Assemble may lengthen cooling. Gate Insert wear may create a repeating gate defect. Cavity scratches or dimensional wear may affect release and shrinkage.
Compare price with rejects, cleaning, inspection, and downtime. Frequent adjustment can erase a lower purchase price.
How Can BJY Support a Stable PET Injection Molding Process?
Process stability may require design confirmation, inspection, trial fitting, and production feedback rather than a simple replacement order.
Custom Design, Repair, and Refurbishment Services
BJY supports new components, sample-based reverse engineering, drawing-based manufacturing, preform mold refurbishment, and changes related to neck finish or preform weight. Its injection mold parts include Gate Insert, Mold Core, Lock Ring, Cavity, Valve Stem, Cooling Tube, and related assemblies.
This lets buyers replace one worn part when the fault is local or review a wider mold section when several cavities show temperature variation.
From Drawings and Testing to Batch Production
A project can start with a sample, drawing, or dimensional data. BJY prepares the design for confirmation, manufactures the part, completes inspection, and proceeds after acceptance. A test piece can be checked before the remaining quantity is produced.
For temperature-control work, include defect photos, cavity numbers, cycle records, cooling-water notes, and the latest approved drawing.
Contact BJY for a Temperature-Control Component Review
If your pet injection molding temperature remains unstable after basic checks, prepare the equipment model, cavity count, preform weight, neck finish, defective cavity numbers, part photos, and drawings. Share these records through the BJY contact page. They help determine whether the project needs a Cooling Tube Assemble, Gate Insert, PET Preform Mold Cavity, or a wider mold review.
A reliable PET injection molding temperature chart organizes the checks, but stable production comes from comparing process records with the physical condition of each molding and cooling component. Check material preparation first, then common controls, and finally repeating cavity-specific faults. BJY’s inspection and refurbishment services support this sequence without requiring a full mold replacement when damage is local.
FAQ
Q: What is a suitable PET injection molding temperature?
A: A suitable PET injection molding temperature is a validated operating window, not one fixed number. Start with the resin and equipment requirements, then verify melt condition, cavity filling, gate quality, clarity, and release across several cycles.
Q: Why does one PET preform cavity remain hotter than the others?
A: Possible causes include restricted flow, scale, poor Cooling Tube Assemble contact, a damaged cooling part, or a local gate condition. Compare the affected cavity with stable cavities before lowering the whole mold setting.
Q: Should I replace the Gate Insert or PET Preform Mold Cavity first?
A: Match the part to the repeating defect. Gate stringing, wear, or localized flash points more directly to the Gate Insert. Surface damage, release marks, or dimensional drift points more directly to the PET Preform Mold Cavity.